This tutorial for a needle felted doll base I happily share with you.
It took me quite a while to develop an easy way to create a sturdy base for my felt dolls
without using a wooden stand or a wired base.
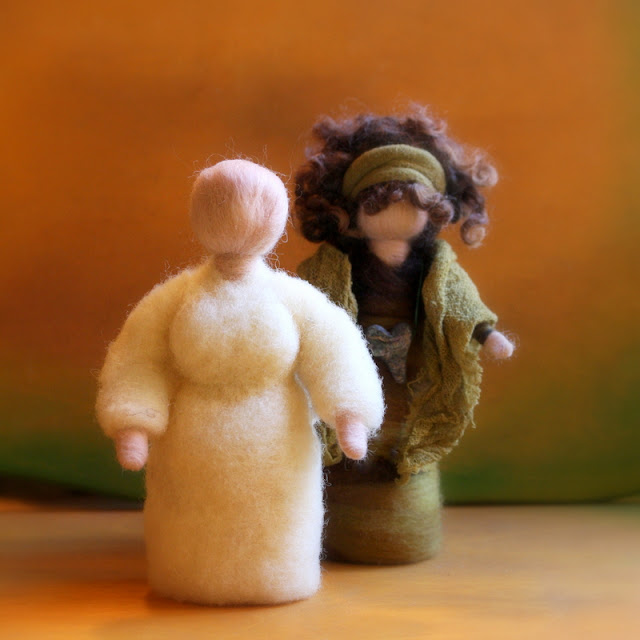
This works great and creates a perfect base doll to 'dress up' anyway you would like.
She can easily become a goddess, Mother Earth, a flower child or a faerie
to decorate your home, season table or altar.
Let's get started - Materials;

- natural carded wool batt (natural coarse filling wool)
- felting needles (fine and medium)
- skin toned (merino) roving
- pipe cleaners
- felt ball for the head (can easily be pricked out of the filling wool)
or a ready made felt ball
- a (foam) pillow to work on
and optional:

- a clover felting tool with 5 needles
1. Take a strip of filling wool. Put it in front of you horizontally
and fold over one edge (approx. 2 cm) over the entire length.
Now turn the strip 90 degrees and roll up firmly into a cone.
The size of the cone is up to you
but for a medium doll I normally use the length of my hand as the height of the strip.
When the cone is thick enough simply pull of the remaining wool and continue with step 3.
2. The thicker side of the cone where you can clearly see the swirl
(the rolled up folded edge) is the bottom side.
3. Secure the roll by pricking the loose ends into the cone with your felting needle.
Work all along the cone with your felting needle but leave the upper side open.
4. Firmly work the bottom side with your felting needle or Clover tool
and prick it extra in the center.
The doll will stand better if the bottom is slightly concave.
5. Roll the cone between your hands to shape it.

1. Measure the pipe cleaner by bending it over the top of the cone.
It should almost touch the surface on both sides.
If your pipe cleaner isn't long enough
you can twist the ends of two pipe cleaners into each other.
Make sure the knot is placed underneath the neck (see step 5)
2. Measure the head by holding it above the cone.
Use a felt ball or prick one yourself
by rolling up a piece of filling wool tightly into a small cone
and prick it until it has a ball shape.
Meanwhile roll it between your hands to form it.
Does it looks to big compared to the body, prick it extra with your felting needle.
Does it feels to small add some extra filling wool.
3. Pull of a tuft a skin toned wool roving
(long enough to generously cover the felt ball)
and divide it into two thin layers.
Place them cross wise on the table with the felt ball in the center.
4. Fold the ends of the wool carefully around the ball
and secure them by binding them firmly with a slim tuft of wool.
Secure it by pricking the ends with the felting needle.
If you want your doll to have a distinct neck add another tuft of wool.
Another option is to pull off one tuft of skintoned wool from the roving
(about 5 tot six times the size of the felt ball)
and making a knot in the center of it using a small tuft of skin toned wool.
The knot is placed on top of the head and secured with a fine felting needle.
Than the wool is draped around the head and finished according to step 4.
You can leave the head as it is
or add an eye line or eyes using a fine felting needle.
5. Divide the remaining wool under the neck in two
and place the pipecleaner under the neck.
6. Place the head with the pipe cleaner underneath the neck on the top of the cone.
Press the neck gently into the cone and secure it immediately by pricking along
the neckline with the felting needle.

1. Add some extra filling wool on both sides to secure the neck
and prick it into the shoulders and neckline.
Repeat until the head is secured and small shoulders are created.
Finally secure one stroke of filling wool batt onto the back.
2. Drape it around the arm and secure it with the felting needle.
Repeat this on the other side of the doll.
3. Make sure there is less wool used for the underarm and more for the upperarm.
Also create armpits by pricking with your felting needle under the arms.
On the back you can create shoulder-blades this way.
4. When you are making a woman/goddess you can add breasts now
by pricking small tufts of wool onto the front.
And create a distinct waistline by pricking all around her body in one line.
5. Finish the neckline and cleavage by draping a thin 'shawl' of wool around her neck
and pricking the ends into her cleavage with a fine felting needle.
1. As you can see now the arms already have 'shrunken' a bit due to adding the head.
Measure them again
and make sure the folded hands will touch the lower side of the thighs.
So measure them and add approximately 1 cm (0,4 inches)
this way you can bend the pipecleaner to create hands
without ending up with to short arms.
2. + 3. Pull off a thin tuft of skin toned roving
and tightly drape it around the pipe cleaner until you almost reach the end.
Make sure there is still wool left to drape with.
4. + 5. Now fold back the end (approximately 1 cm / 0,4 inches)
and drape it tightly with the remaining wool.
6. Secure immediately with a fine felting needle.
And finish off the wrists with a fine tuft of skin toned roving.
And.... there she is.
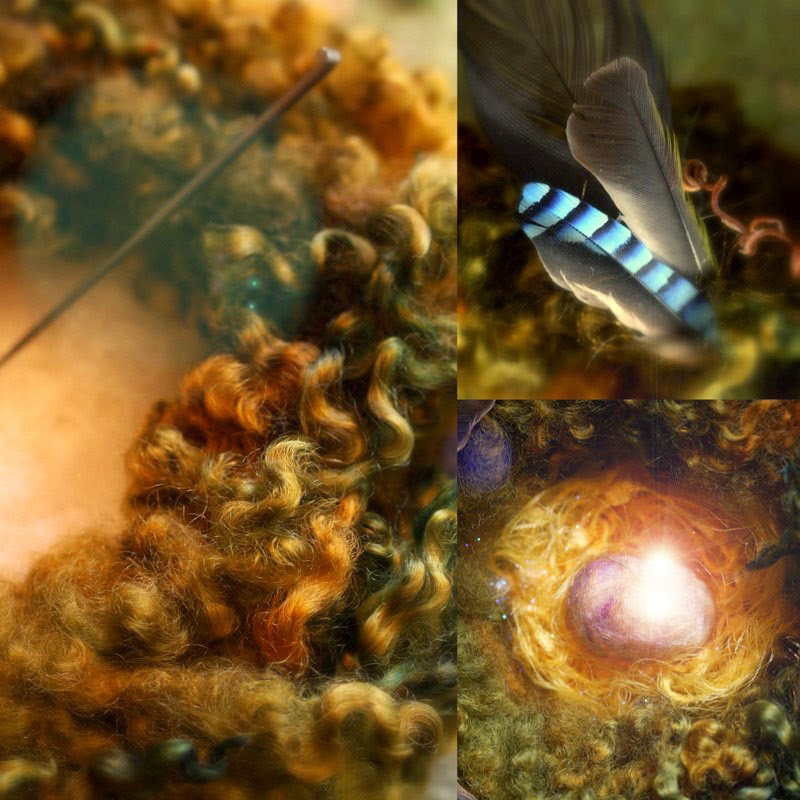
Now the real fun part starts, choosing ornaments,
creating hair out of wool locks,
clothes out of scraps of silk, scrim and wool batts etc.
All which you can apply simply by pricking them into the white base
with a fine felting needle....enjoy!
If you have any questions about this tutorial
or if there are any uncertainties
please let me know.
with love,
Sas


